PS4 Slim — Graphic artifacts
Repair of a PS4 Slim with graphic artifacts, solved by replacing the MN864729 HDMI encoder.
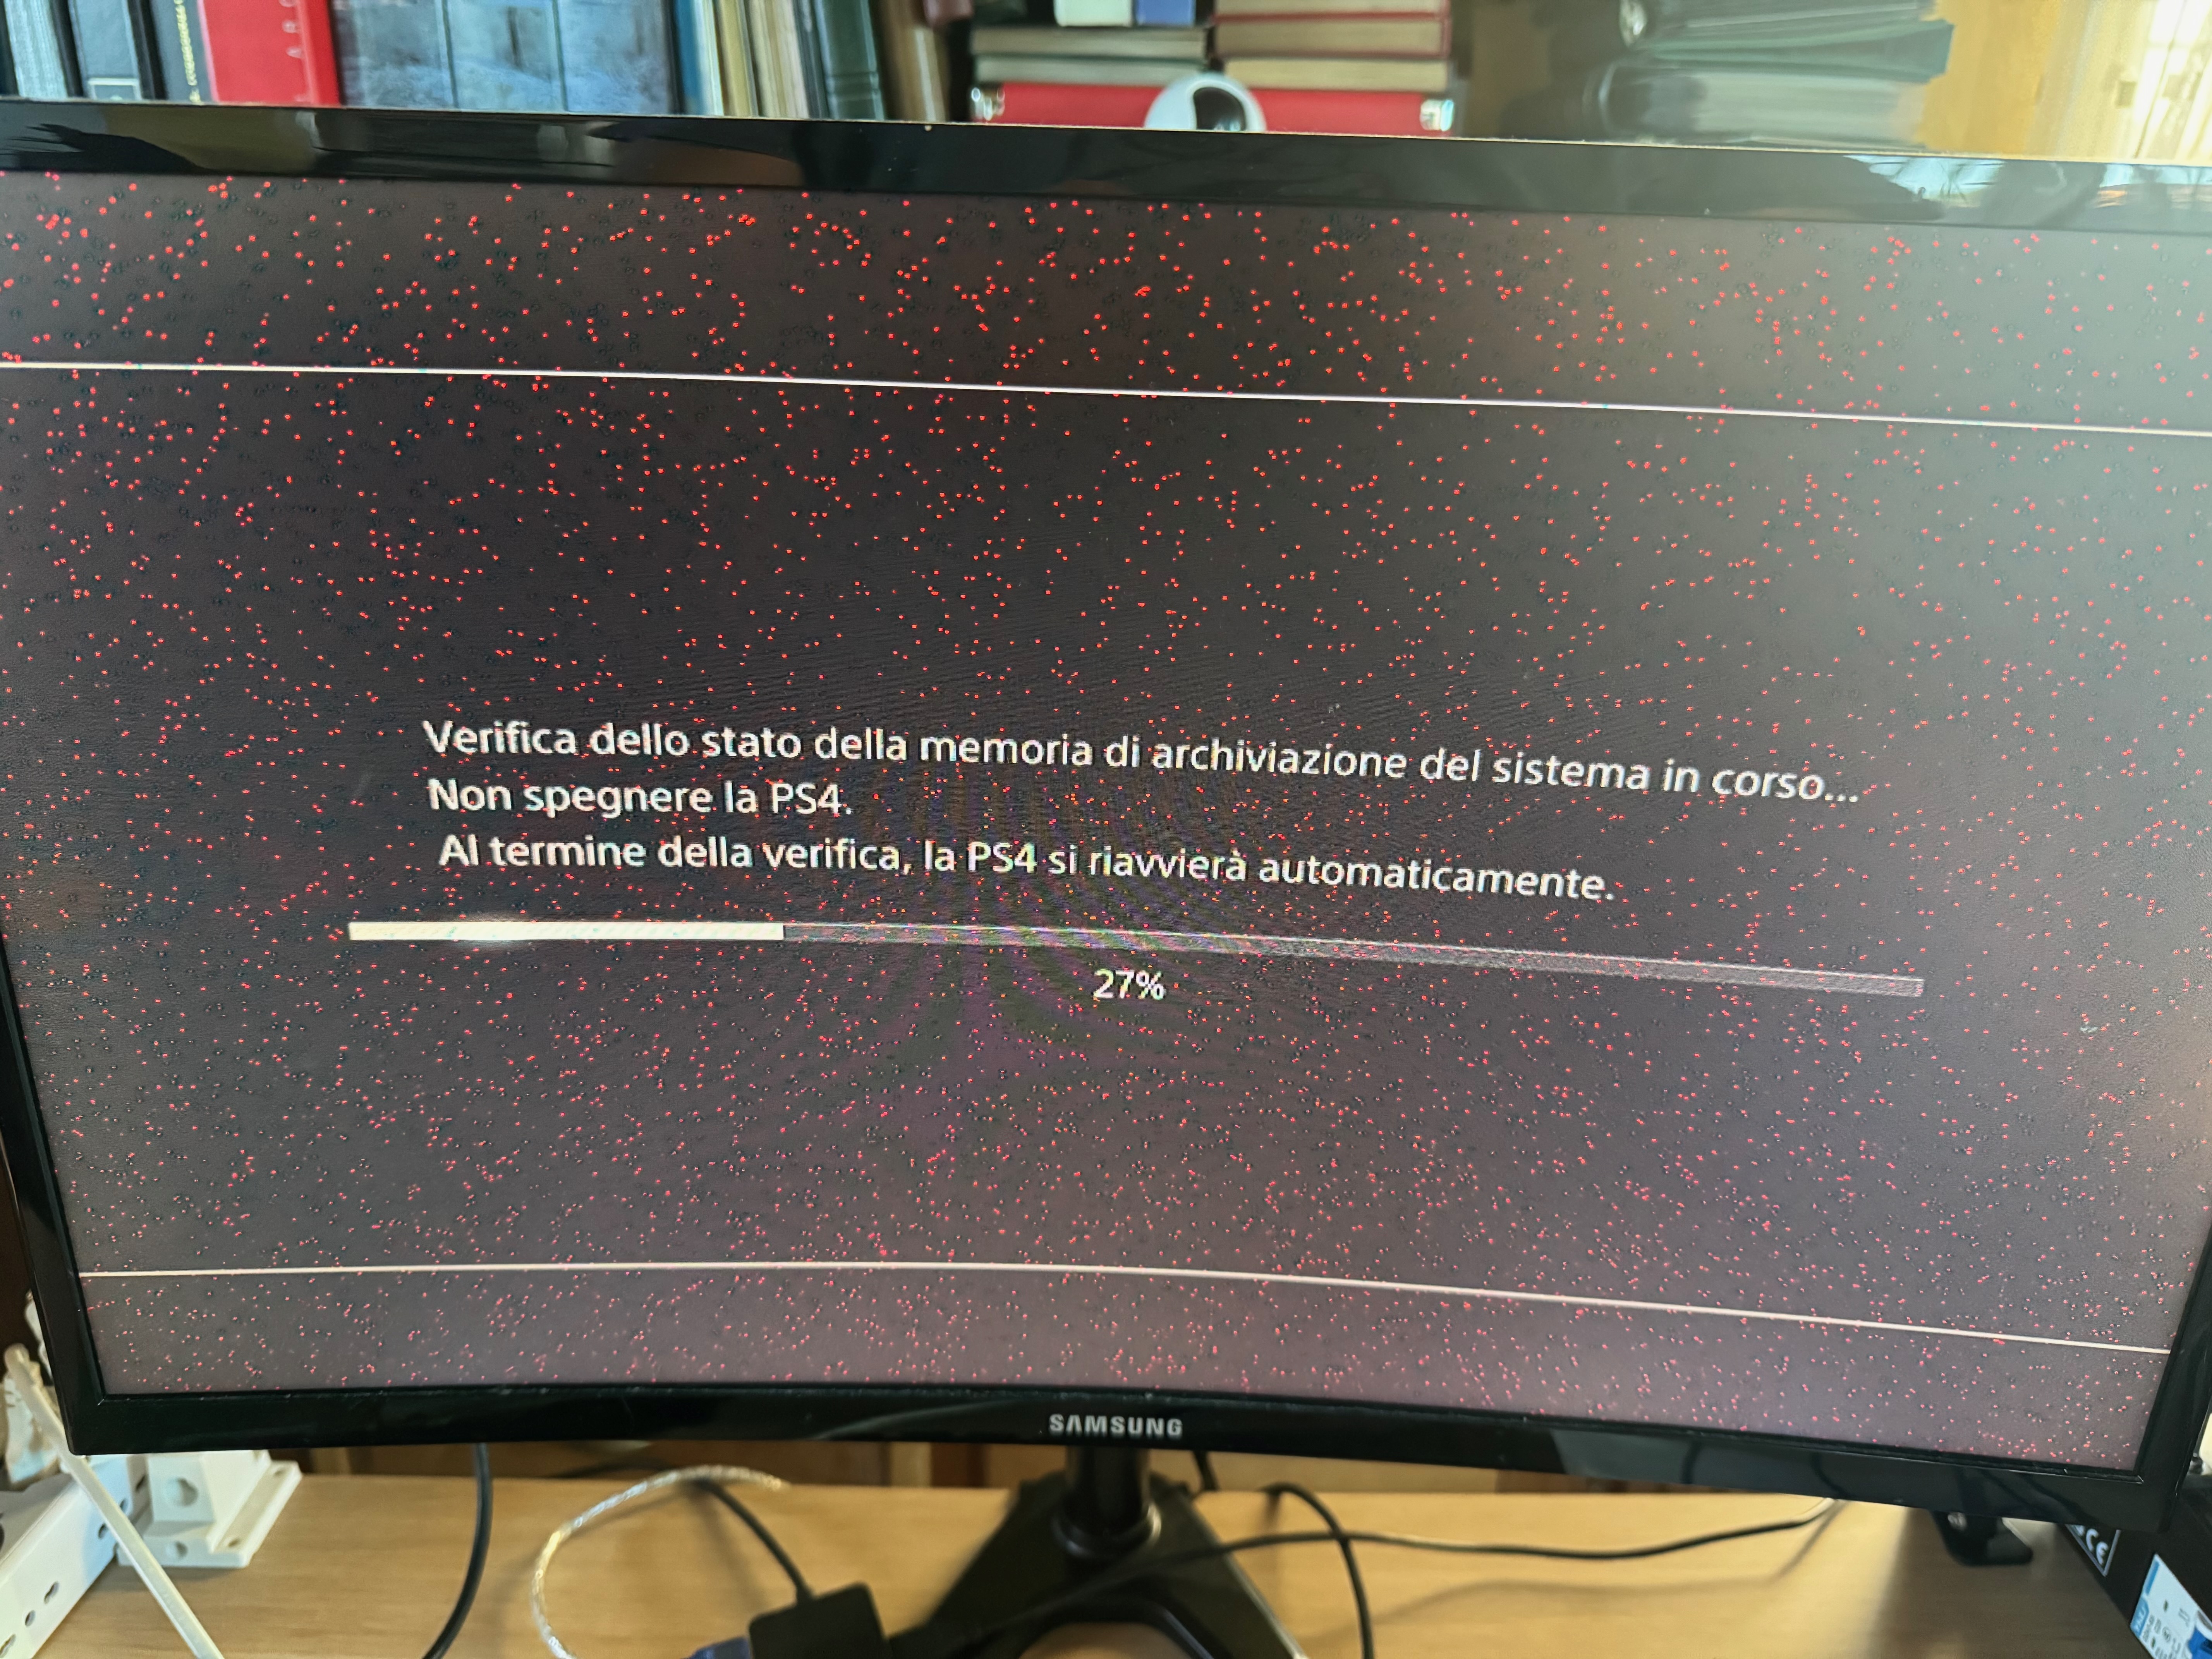
In this repair I worked on a PS4 Slim that showed video artifacts on the HDMI output. The console powered on and reached recovery mode, but several red dots appeared on the background, a typical sign of a problem on the digital video line.
In cases like this, the fault can come from different points: the HDMI cable, the HDMI port, filters, or the HDMI encoder. Before replacing components, it is important to understand whether the problem is mechanical, such as a damaged port, or electronic.
Diagnosis
I always test consoles in a controlled setup, where I know that the HDMI cable and monitor are working correctly. This lets me rule out the simplest causes first.
I usually clean the HDMI port with isopropyl alcohol and check whether the connector moves too much when the cable is inserted. Too much movement could indicate a bent or damaged port. In this case, moving the cable did not create new artifacts and the image did not disappear, so the problem did not seem to be related to the port itself.
At that point I disassembled the console until I reached the motherboard. I then checked the HDMI port pins, the continuity of the filters on the video line, and the behavior of the diodes. This kind of fault is often related to the HDMI encoder, but before replacing it I prefer to rule out the most obvious problems.
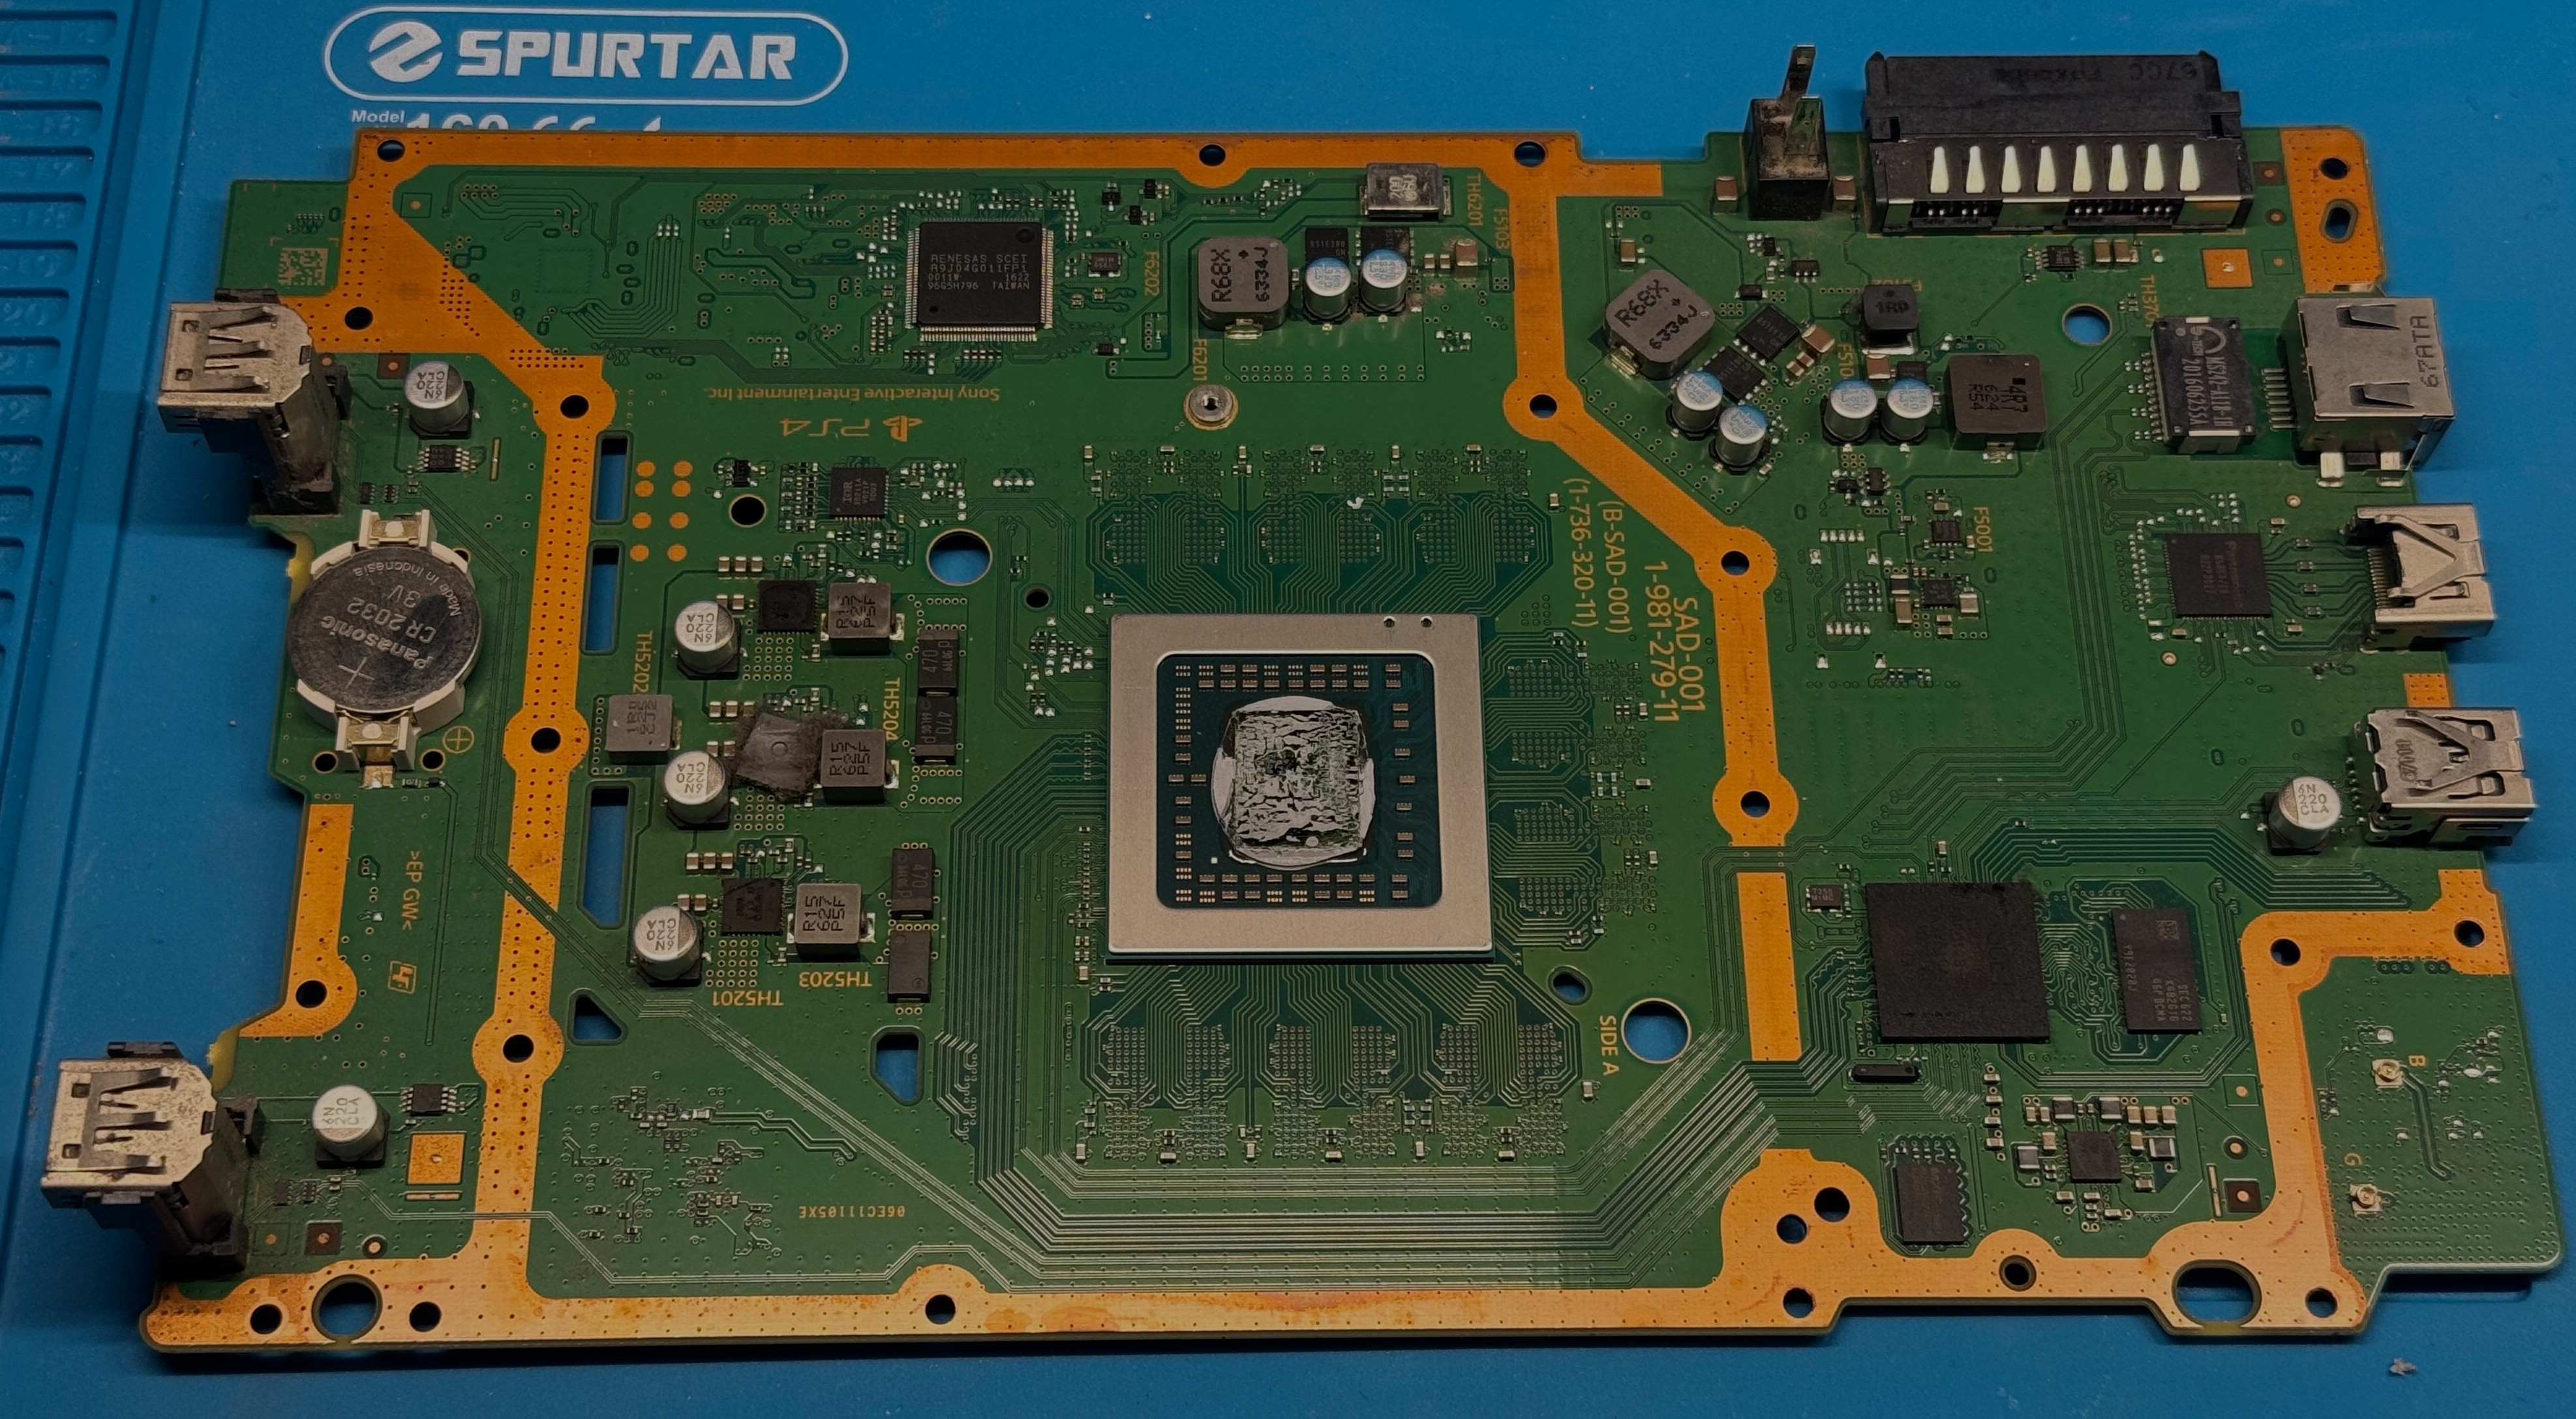
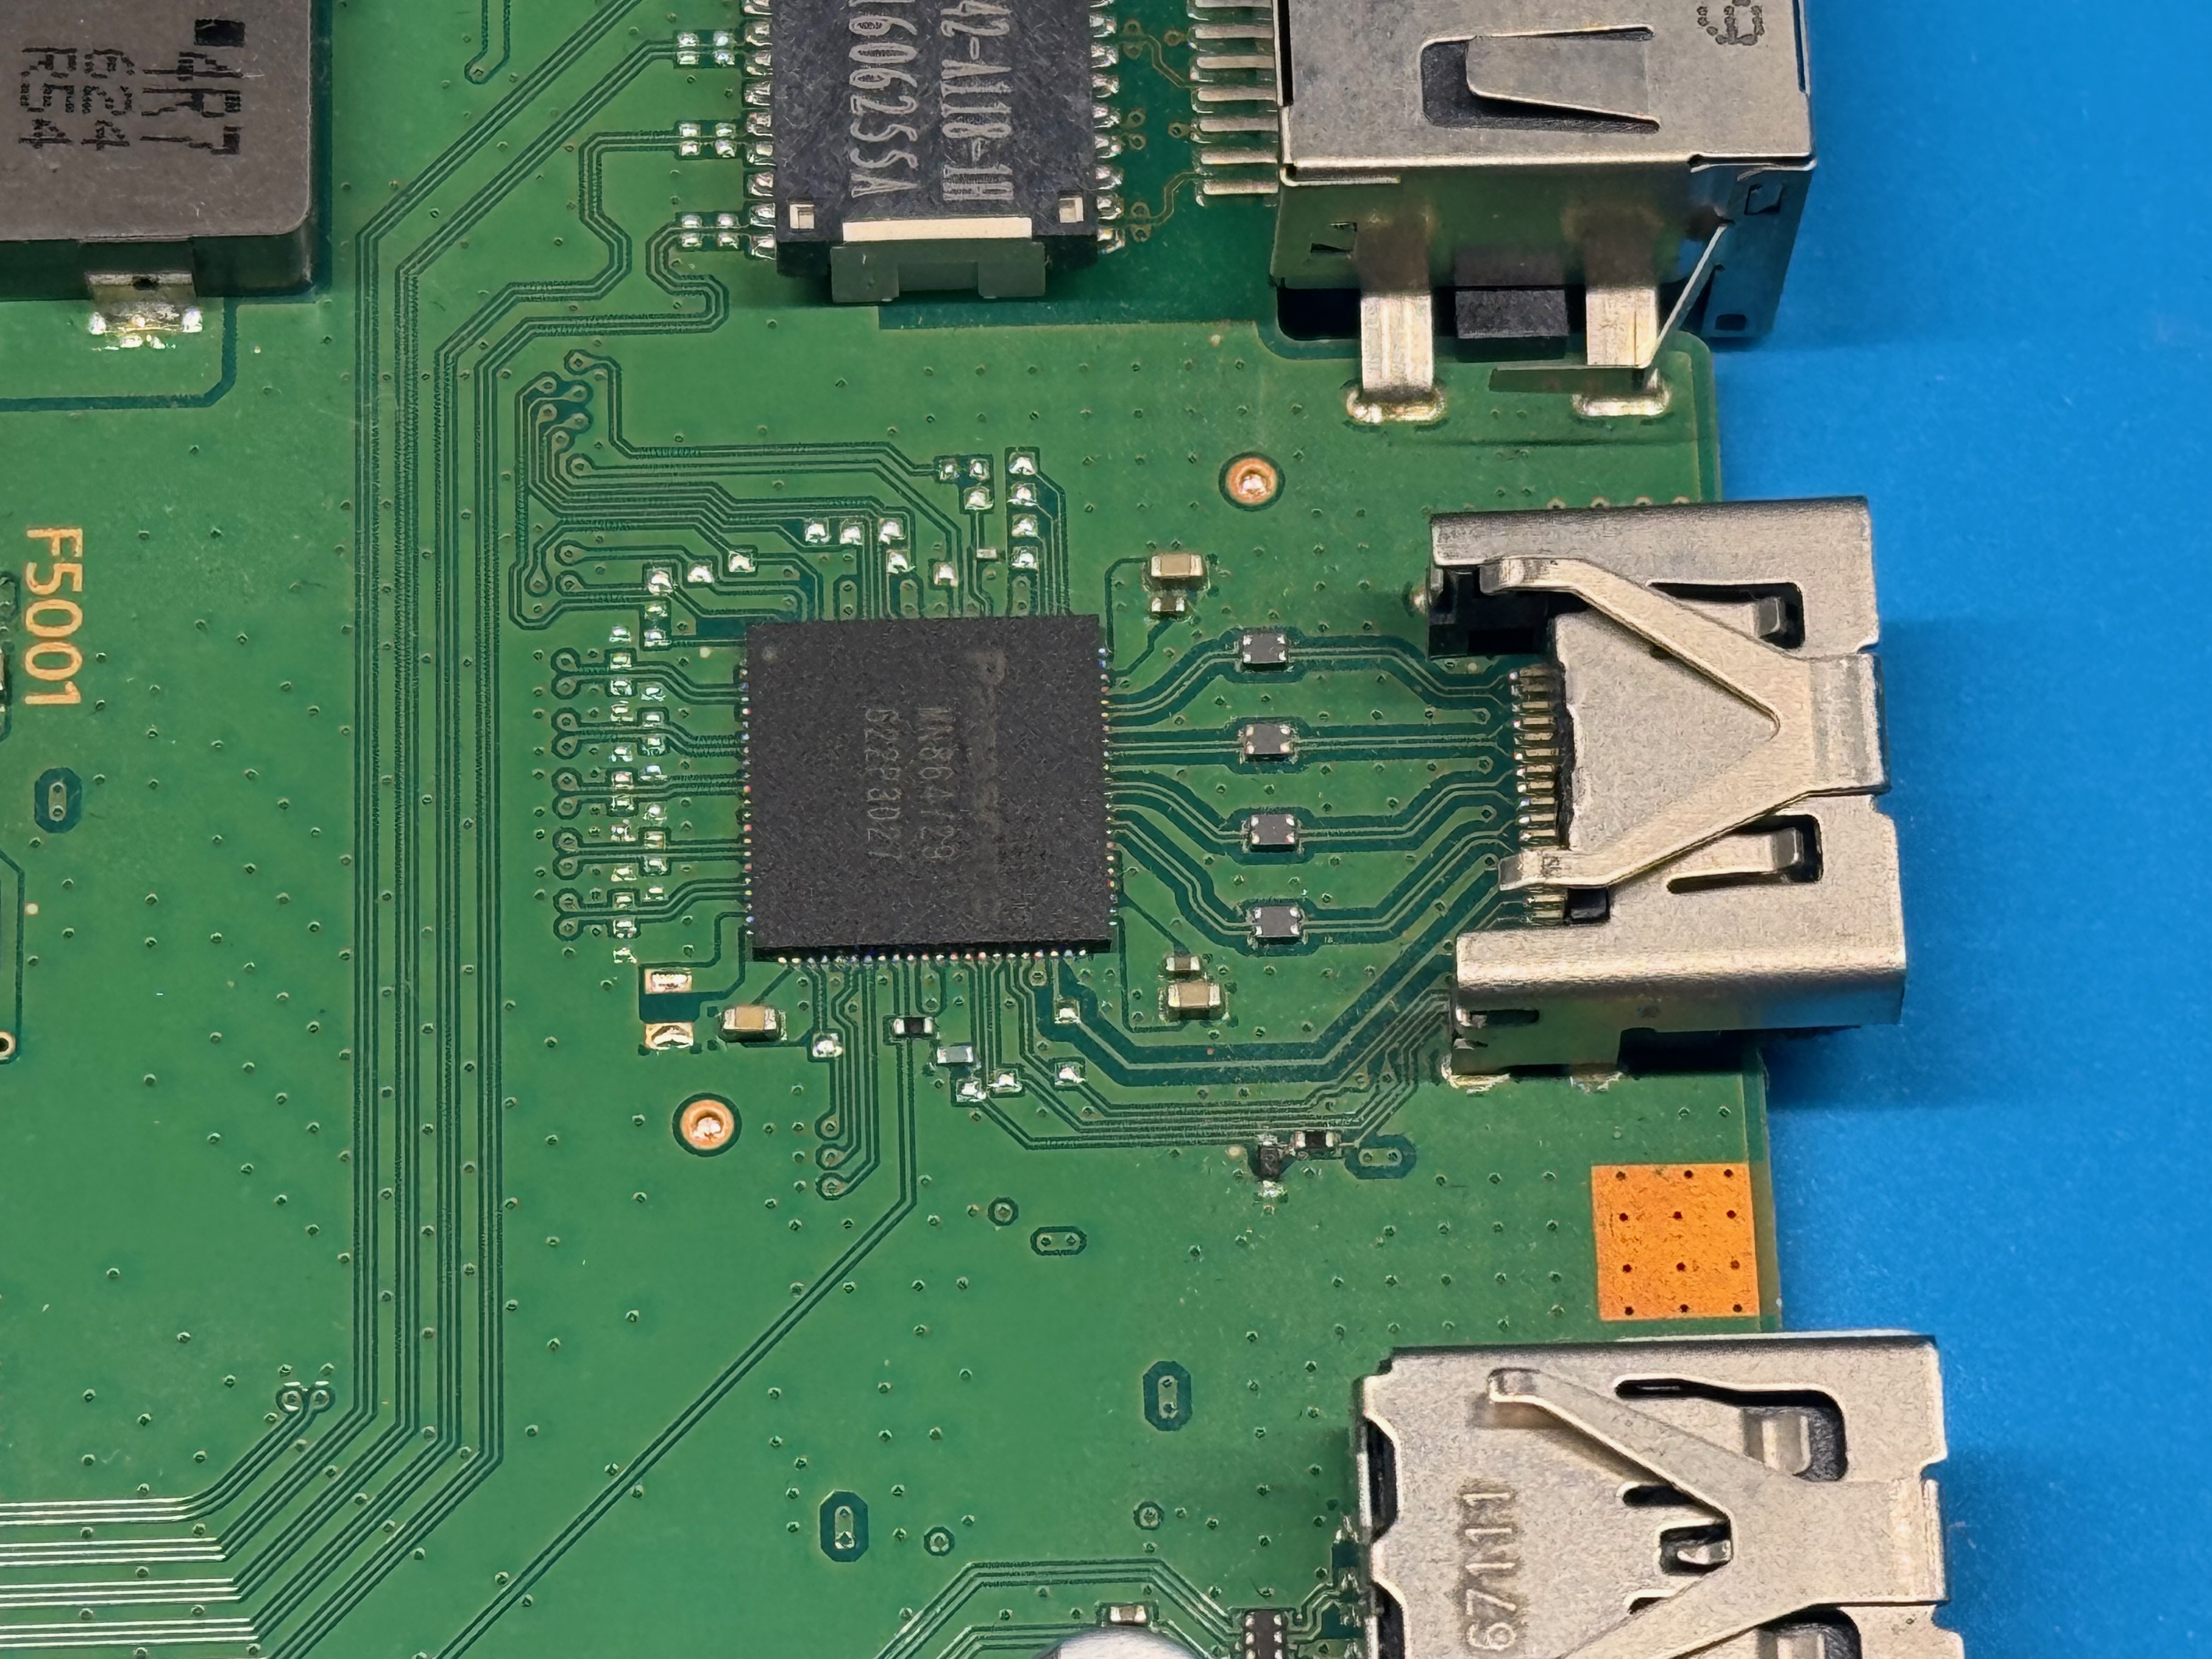
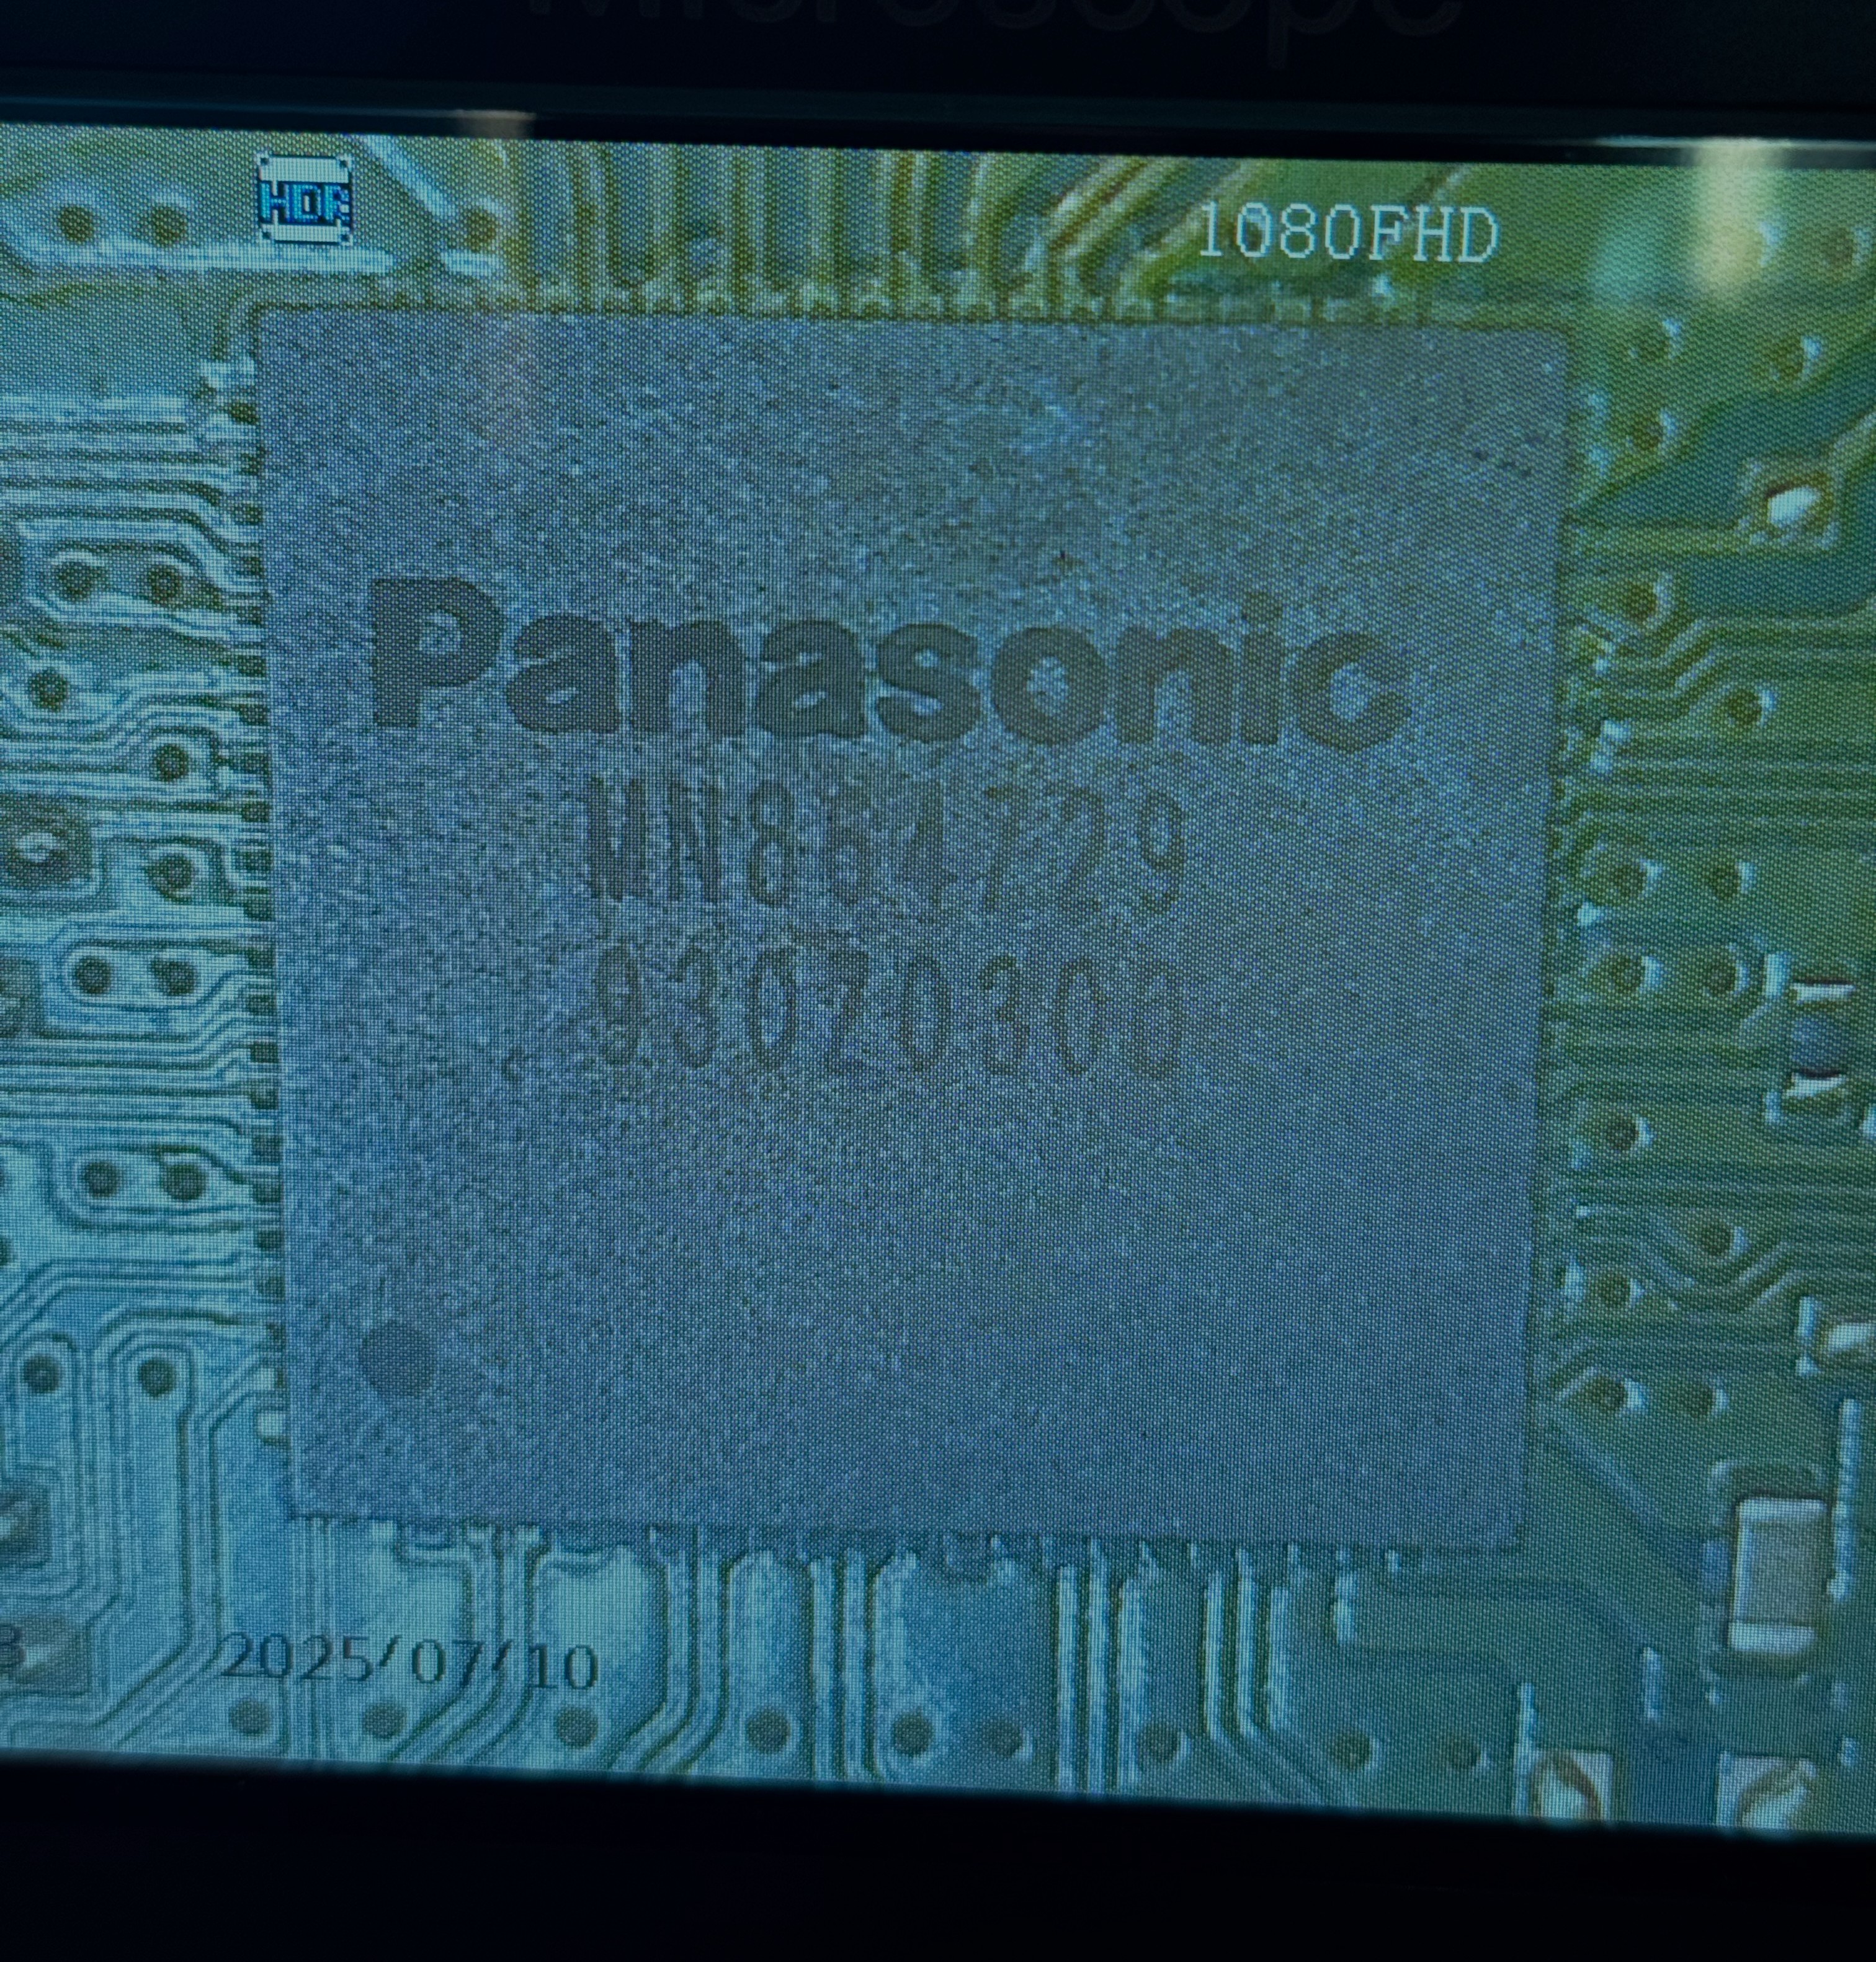
On the PS4 Slim, one of the main components in the video section is the MN864729 HDMI encoder, which manages the signal coming from the APU and sends it to the HDMI output.
Encoder replacement
The defect appeared as colored spots on the image, not as 3D artifacts around models or during rendering. For this reason, the HDMI encoder was a more likely cause than the APU. The APU was still a possibility, but before reaching that conclusion I decided to replace the encoder.
I removed the chip with hot air, gradually heating the area until I could lift it without forcing it and without moving the nearby components.
Before applying heat, it is important to protect the more sensitive components around the work area. In this case I applied a layer of adhesive aluminum over the Ethernet filter to reduce the risk of heat damage.

After cleaning the area, I positioned and installed the new encoder, carefully checking the alignment, because even a small misalignment can prevent proper contact between the chip pins and the pads on the board.
Final test and notes
After the replacement I reassembled enough of the console to run a video test and confirmed that the output was clean again, with no more red dots. I then performed additional tests to check the correct behavior of the console and the stability of the signal.
This repair is interesting because the problem was not a simple damaged HDMI port, but a deeper fault in the video section.
Replacing the encoder solved the issue and, fortunately, ruled out a fault in the APU.